Banners and course cards can be a great way to personalize or add flair to your Blackboard course. They can also help you and your students easily differentiate one course from another. The same image is used as both your course card and your course banner, which creates a visual brand for your course.
To set a banner, you need to have an image prepared in advance.
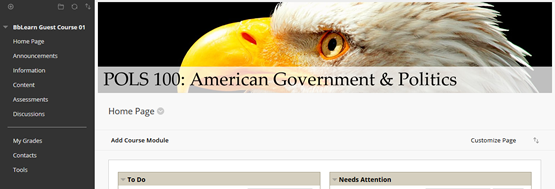
Banners in Original Course View
Banners are displayed at the top of the Course Entry Point. Banners should be no larger than 1000 pixels wide, by 150 pixels tall and should be uploaded as a .gif or .jpg file. Banners larger than 1000x150 pixels take up too much space at the top of a page.
To Add a Banner
- Go to the Control Panel and click Customization, then select Teaching Style
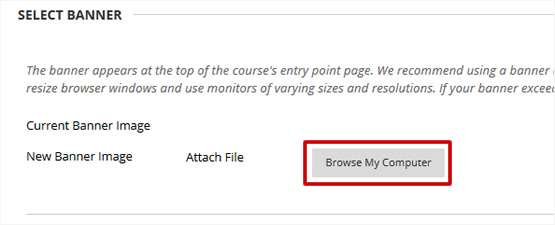
- In the adjacent window, scroll down to Select Banner
- Click the Browse My Computer button and select the banner image that is stored on the computer, then click Open
- Click Submit
When you update your course banner, the course card on the Courses page is also automatically updated.
You may find the following resources useful for creating your own banner:
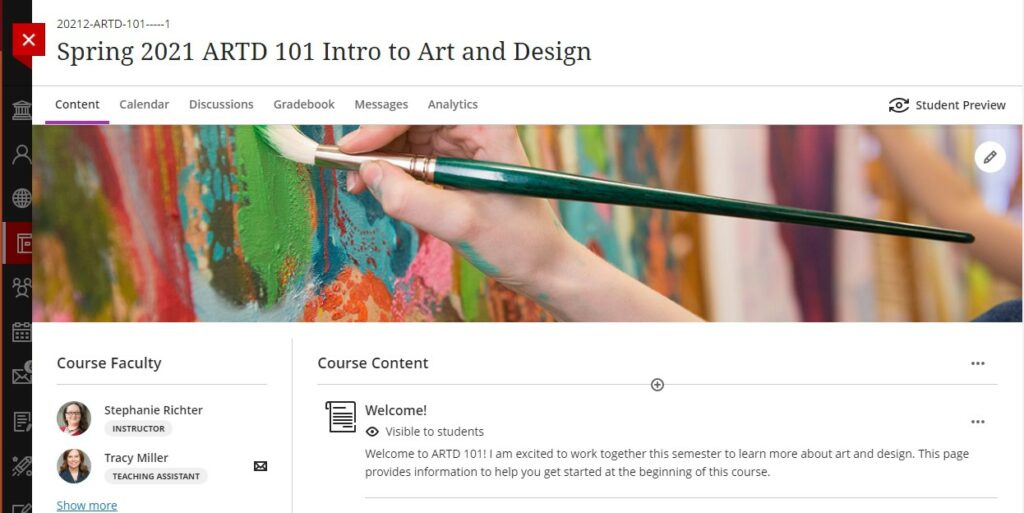
Banners in Ultra Course View
Status: Available
Banners are displayed at the top of the Content page of your course. Banners should be at least 1200 pixels wide, by 240 pixels tall and should be uploaded as a .png or .jpg file. To ensure your image is as crisp as possible, we recommend using an image that is larger than the minimum, with 4800 x 960 pixels as an ideal size.
To Add a Banner
- From the Details & Actions pane, click the Edit display settings link under Course Image
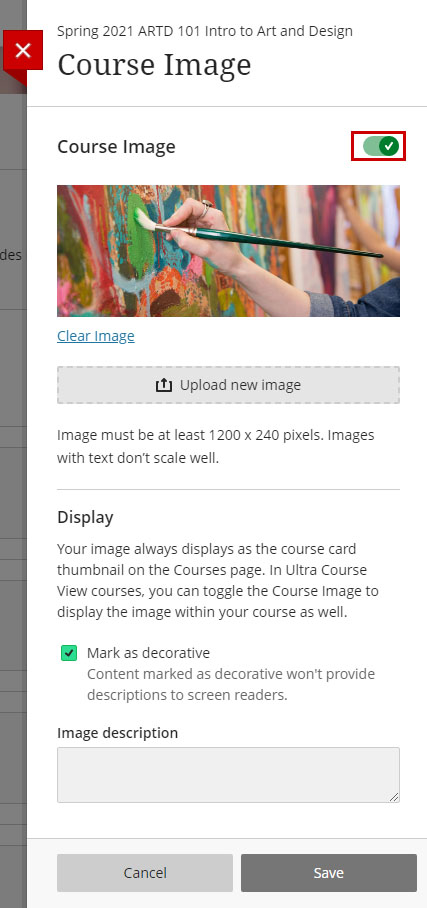
- Click the Upload new image button
- Click and drag the brighter box to reposition your image and use the slider to adjust the zoom
- Click the Done button to save your edits
- Click the slider above the image to enable it as your course image (i.e., the course banner)
- Under Display, if your image contains content that needs to be described via a screen reader, remove the check from the Mark as decorative box and enter text in the Image description field
- Click the Save button
When you update your course banner, the course card on the Courses page is also automatically updated.
Because the image file size requirement is so large, it may be difficult to find an image that will work for you. We recommend taking an image yourself (smartphone size and resolution works well), or you can use royalty-free photography sites like Pixabay to find an image. Also, because the banner and course card are automatically cropped based on screen size, you should keep the focus of the banner toward the center of the image. The sizes of the image will be cropped as the screen size changes.
Learn More
Quick Guides
See Also...